
Damaged deliveries don’t just cost you replacement product and shipping—they also create negative reviews, customer churn, and hidden labor costs in support and claims. The good news is that most damage is preventable when packaging is designed around real transit risks: drops, vibration, compression, puncture, and leakage. This checklist gives you a practical, repeatable system to reduce damage for products including bottle packaging, jar packaging, pump & dispenser, flexible packaging, paper boxes, cosmetic packaging, pharmaceutical containers, supplement packaging, and daily chemical packaging.
Use this checklist before you ship any SKU
The goal is simple: immobilize, cushion, and strengthen—while keeping packaging efficient.
You can use this checklist for:
- New product launches
- Switching suppliers or materials
- Expanding to new shipping lanes
- High-return SKUs
- Peak season readiness
Step 1: Identify your top damage risks
Different products fail in different ways. Start by labeling the risk type:
- Fragile: glass bottles, glass jars, droppers
- Leak-prone: liquids, pumps, low-viscosity formulas
- Crush-sensitive: premium paper boxes, gift sets
- Puncture-prone: pouches, flexible packaging, sharp accessories
- Multi-item collision: bundles with multiple bottles/jars in one shipper
- Label scuffing: cosmetics and supplements where presentation matters
Then choose packaging controls that target those exact risks.
Step 2: Right-size the shipping box
Oversized boxes are the most common root cause of damage because they create movement and require excessive void fill.
Checklist:
- Choose the smallest box that fits product + protection
- Reduce box height whenever possible
- Avoid “one-box-fits-all” for multiple SKUs
- Standardize a set of box sizes to reduce packing mistakes
- Confirm internal dimensions, not only external measurements
If your product can rattle, it can break.
Step 3: Immobilize the product
Cushioning helps, but immobilization prevents most breakage.
Checklist:
- Use molded pulp trays for glass bottles and jar packaging
- Use corrugated dividers for multi-bottle and multi-jar orders
- Use fitted inner cartons for cosmetics sets
- Prevent vertical bounce with top and bottom pads
- Ensure bottles and jars cannot contact each other
- Avoid relying on air pillows alone for fragile items
A small amount of movement is enough to create repeated impacts during transit vibration.
Step 4: Choose the right cushioning material
Cushioning should match weight, fragility, and puncture risk.
Checklist:
- Bubble wrap or paper wrap for wrap-around surface protection
- Paper cushioning for blocking and bracing when products are in cartons
- Air pillows for void fill only when puncture risk is low
- Foam end caps for high-value or high-risk fragile items
- Honeycomb paper wraps for compression resistance and scuff prevention
Avoid “more cushioning” as a strategy. Use the right cushioning in the right place.
Step 5: Strengthen the outer carton
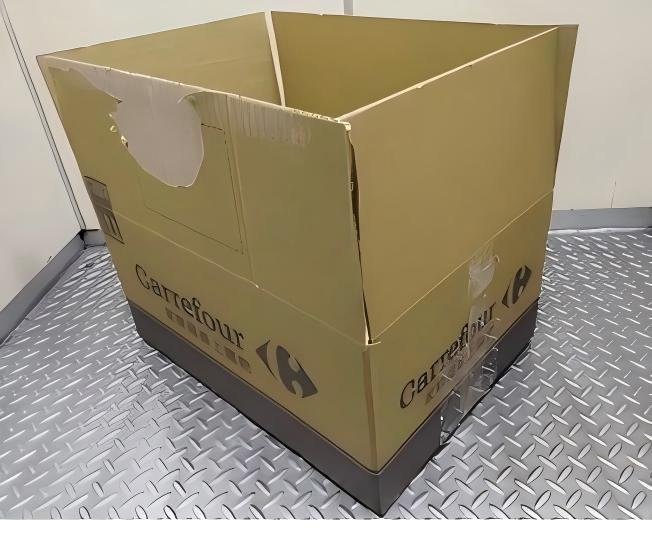
Even perfect internal packaging fails if the shipping box collapses.
Checklist:
- Use corrugated board strength matched to shipment weight
- Upgrade to double wall when shipping heavy bundles or glass sets
- Use strong tape patterns and correct tape width
- Keep seams aligned and fully sealed
- Avoid reused cartons with weakened corners
- Store cartons in dry areas to prevent humidity weakening
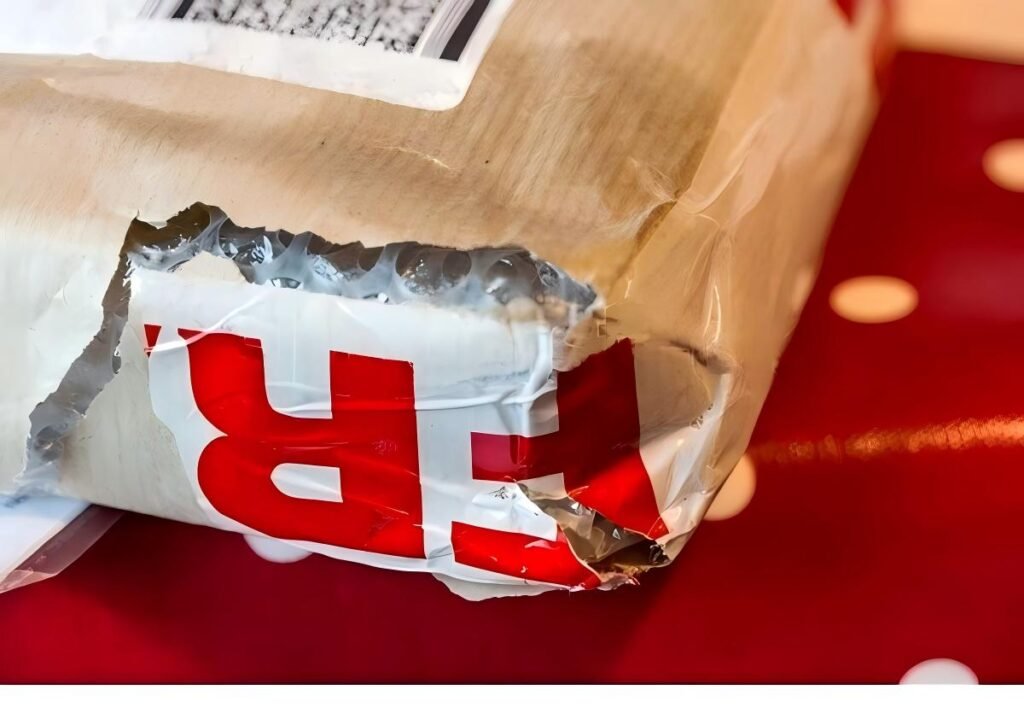
Compression failures often show up as crushed corners and dented cartons, which customers interpret as “damaged product,” even if the item inside is fine.
Step 6: Control leakage before it happens
Leakage is expensive because it damages the product, ruins the carton, and can destroy other parcels in transit.
Checklist for liquids:
- Validate closure torque and liner selection
- Use tamper evidence that does not compromise sealing
- Use overcaps or locking pumps where possible
- Add secondary containment for high-risk liquids
- Test for micro-leaks under vibration and temperature cycling
- Keep liquids upright when possible, but don’t rely on orientation labels alone
For daily chemical packaging, leakage prevention is often the highest ROI improvement.
Step 7: Protect pumps, sprayers, and dispensers
Dispensers create unique failure points: actuators snap, pumps depress and leak, triggers crack, and collars break under side-load.
Checklist:
- Add overcaps or locks when available
- Immobilize the neck and actuator area
- Prevent side pressure from tight packing or heavy items
- Use internal bracing or cavities that keep pumps centered
- Consider refill models where the pump is reused and shipped less often
Many brands fix “pump damage” by changing the insert design, not by changing the pump supplier.
Step 8: Prevent scuffing and crushed presentation
Presentation damage drives negative reviews in cosmetics, supplements, and premium paper boxes—even when the product still works.
Checklist:
- Use snug mailer boxes to reduce movement
- Add corner protection for premium cartons
- Use sleeves or tissue to prevent abrasion
- Avoid loose items rubbing against decorated surfaces
- Keep heavy items from pressing against lightweight cartons
If the unboxing experience is part of your product value, treat carton integrity as a performance requirement.
Step 9: Reduce multi-item collision in bundles
Bundles are where breakage often spikes.
Checklist:
- Use partitions or dividers for all multi-bottle and multi-jar orders
- Add top and bottom pads to prevent vertical impact transfer
- Avoid stacking glass directly on top of glass
- Keep heavy items low in the carton
- Use a box sized for the bundle, not sized for one item plus void fill
Most “random breakage” in e-commerce is actually predictable collision.
Step 10: Label correctly, but don’t rely on labels
“Fragile” labels and “This side up” arrows are not a protection strategy. They can help, but your packaging must survive mishandling.
Checklist:
- Place shipping labels flat and scannable
- Avoid label placement over seams or edges
- Use clear warnings for hazardous or regulated items when required
- Don’t assume carriers will follow orientation labels
Design for worst-case handling.
Step 11: Test your packaging in realistic conditions
Testing turns a checklist into reliable performance.
Minimum recommended tests:
- Drop tests on corners, edges, faces
- Vibration tests for long-distance shipments
- Compression tests for stacking loads
- Temperature and humidity conditioning for seasonal lanes
- Leak tests for liquids and pump products
If you change any one element—box size, insert, tape, bottle, cap—retest the system.
Step 12: Track damage data and improve continuously
Damage prevention improves fastest when you treat it like an operations metric.
Track:
- Damage rate by SKU and shipping lane
- Failure type: breakage, leakage, crushing, scuffing
- Packaging used per order
- Return photos and customer feedback
- Carrier claim outcomes
Then make targeted changes to the highest-cost failure modes first.
Category-specific mini-checklists
Glass bottle packaging
- Molded fiber or corrugated bottle cells
- Top and bottom pads
- Tight fit to prevent tipping
- Double wall for multi-unit heavy orders when needed
Jar packaging
- Rim protection and partitions
- Prevent jar-to-jar contact
- Validate cap torque and liner
- Avoid oversized cartons
Cosmetic packaging
- Protect premium carton corners
- Prevent scuffing of decoration
- Use inserts for glass and droppers
- Right-size for gift sets and kits
Pharmaceutical containers
- Maintain label readability and compliance materials
- Prevent scuffing and carton deformation
- Standardize pack-out to reduce errors
Supplement packaging
- Dividers for multi-bottle shipments
- Strong bottom support for heavy orders
- Reduce movement to prevent cap loosening
Daily chemical packaging
- Leak prevention + secondary containment
- Strong bracing to prevent tipping
- Validate seals with vibration testing
Common mistakes that cause damaged deliveries
- Oversized boxes with “a lot of void fill”
- Air pillows used as the only protection for fragile items
- No partitions in multi-bottle orders
- Weak cartons that collapse under compression
- Ignoring vibration and only testing drops
- Poor torque control leading to micro-leaks
- Pump actuators unprotected and side-loaded
- Over-tight packing that crushes retail cartons
FAQ
What is the best way to prevent shipping damage
Right-size the box, immobilize the product with inserts or dividers, and validate with drop, vibration, and compression testing. The best packaging prevents movement and manages real transit forces.
Why do products break even with lots of bubble wrap
Because bubble wrap alone may not immobilize the product. If the item can still move, it will repeatedly impact the box walls during transit. Immobilization plus right-sizing usually matters more than adding more cushioning.
How do I prevent liquid leaks during shipping
Use the correct closure and liner, control torque, add tamper evidence that does not compromise sealing, and use secondary containment for high-risk liquids. Test under vibration and temperature cycles.
Do fragile stickers help
They can help but are not reliable. Packaging must be designed to survive mishandling. Treat labels as a supplement, not a strategy.
Damage-prevention packaging with Supply-Packagings
Supply-Packagings provides supply packagings for everything, including Bottle Packaging, Jar Packaging, Pump & Dispenser, Flexible Packaging, Paper Boxes, Cosmetic Packaging, Pharmaceutical Containers, Supplement Packaging, and Daily Chemical Packaging. If you’re dealing with damaged deliveries, we can help you redesign the complete packaging system—right-sized boxes, inserts, dividers, closures, and protective materials—so you reduce breakage, leakage, scuffing, and total shipping cost.
Share your product type, dimensions, shipping method, and damage photos or failure patterns, and we can recommend a practical packaging improvement plan.